A 3D mockup makes your book look real. It is the kind of image you can reuse everywhere: your storefront, cover reveal, social posts, ads, and launch graphics.
The key is knowing what AI should and should not do. Do not ask AI to design your cover. A good book cover takes taste, genre awareness, and human judgment. Start with a real, human-made cover.
Then use AI to mock it up as a physical book. Instead of relying on old projection software that warps your cover onto a flat geometric template, AI can create the surrounding object: the spine, pages, shadows, lighting, paper texture, and printed-book feel.
Here is how to do it in five steps.


How to make one yourself
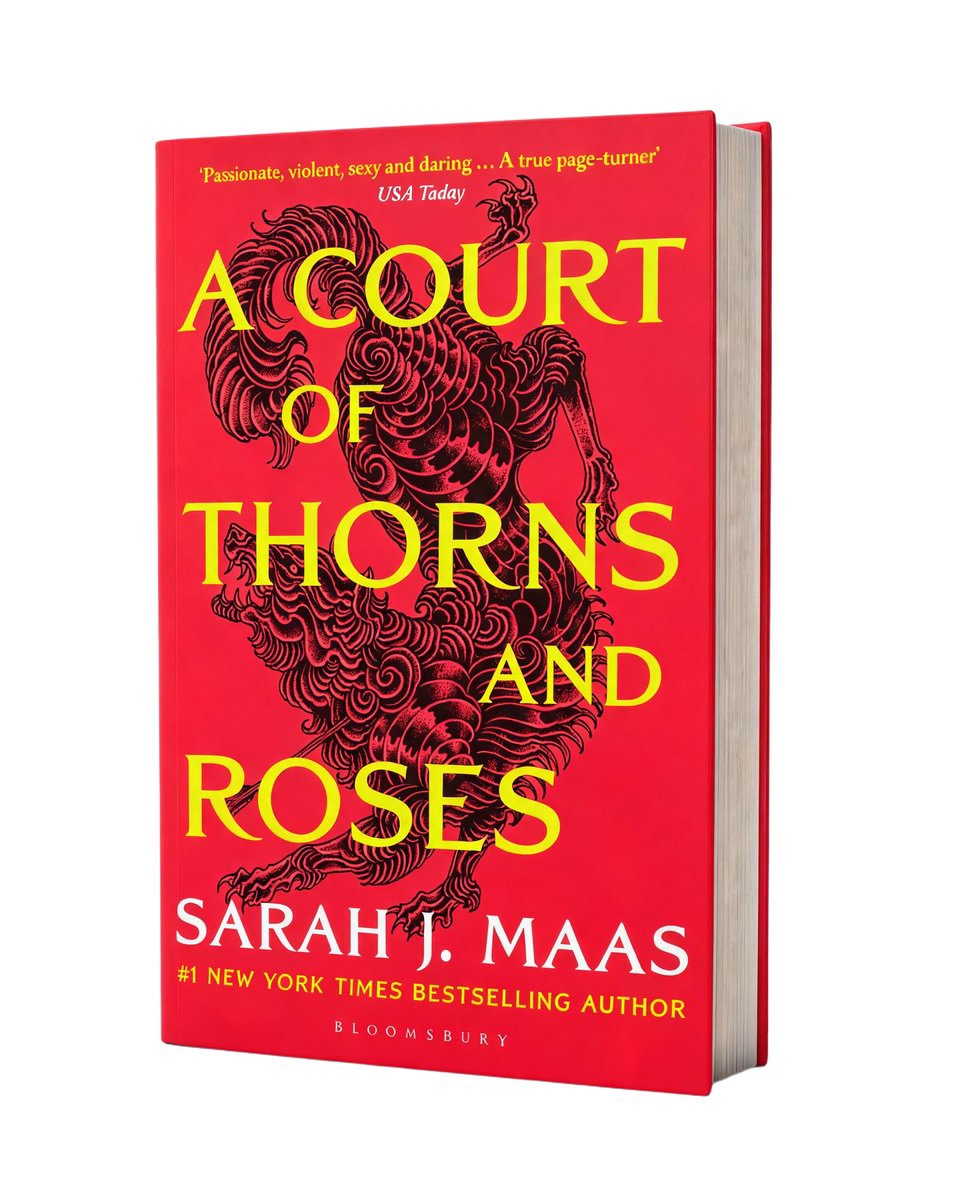
Here's a flat cover and the mockup we made from it — same artwork, now a book you could pick up:

I tested GPT Image 2, Nano Banana, and Seedream v5 Lite because they scored highest for cover text in our mockup runs. All three could make a realistic book with legible type across straight-on, three-quarter, and corner-hang angles.
The place they struggled was thickness. Medium and thick books worked; thin novellas often drifted toward the same average paperback depth. That is why the second reference image matters: you show the model the book's shape instead of trying to describe it.
Here's the process.
Step 1 — Start with your flat cover
Use the highest-resolution version of your cover you have — the original artwork file or a full-size export.
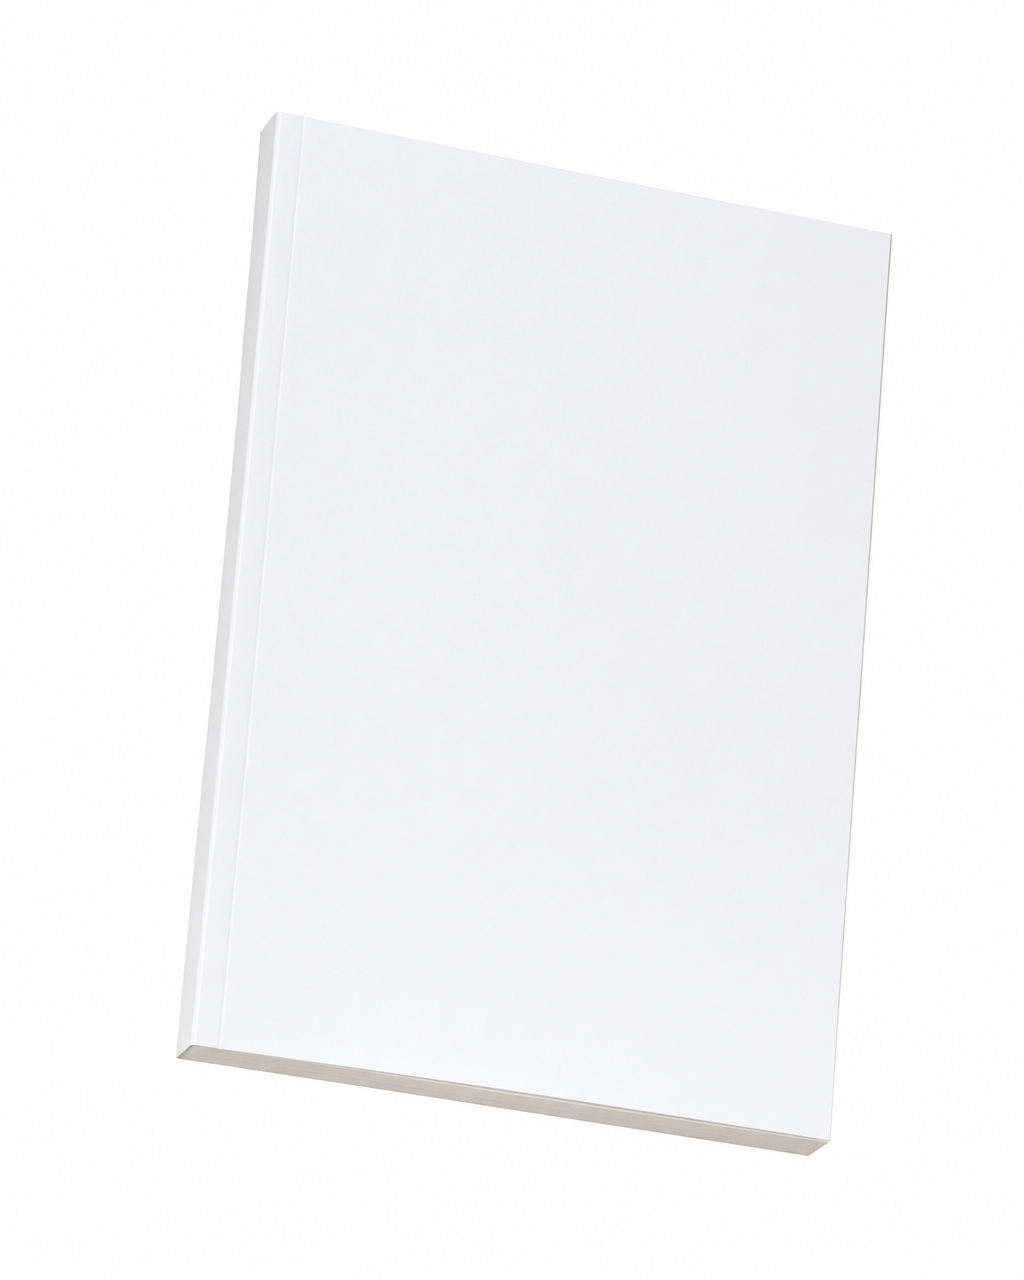
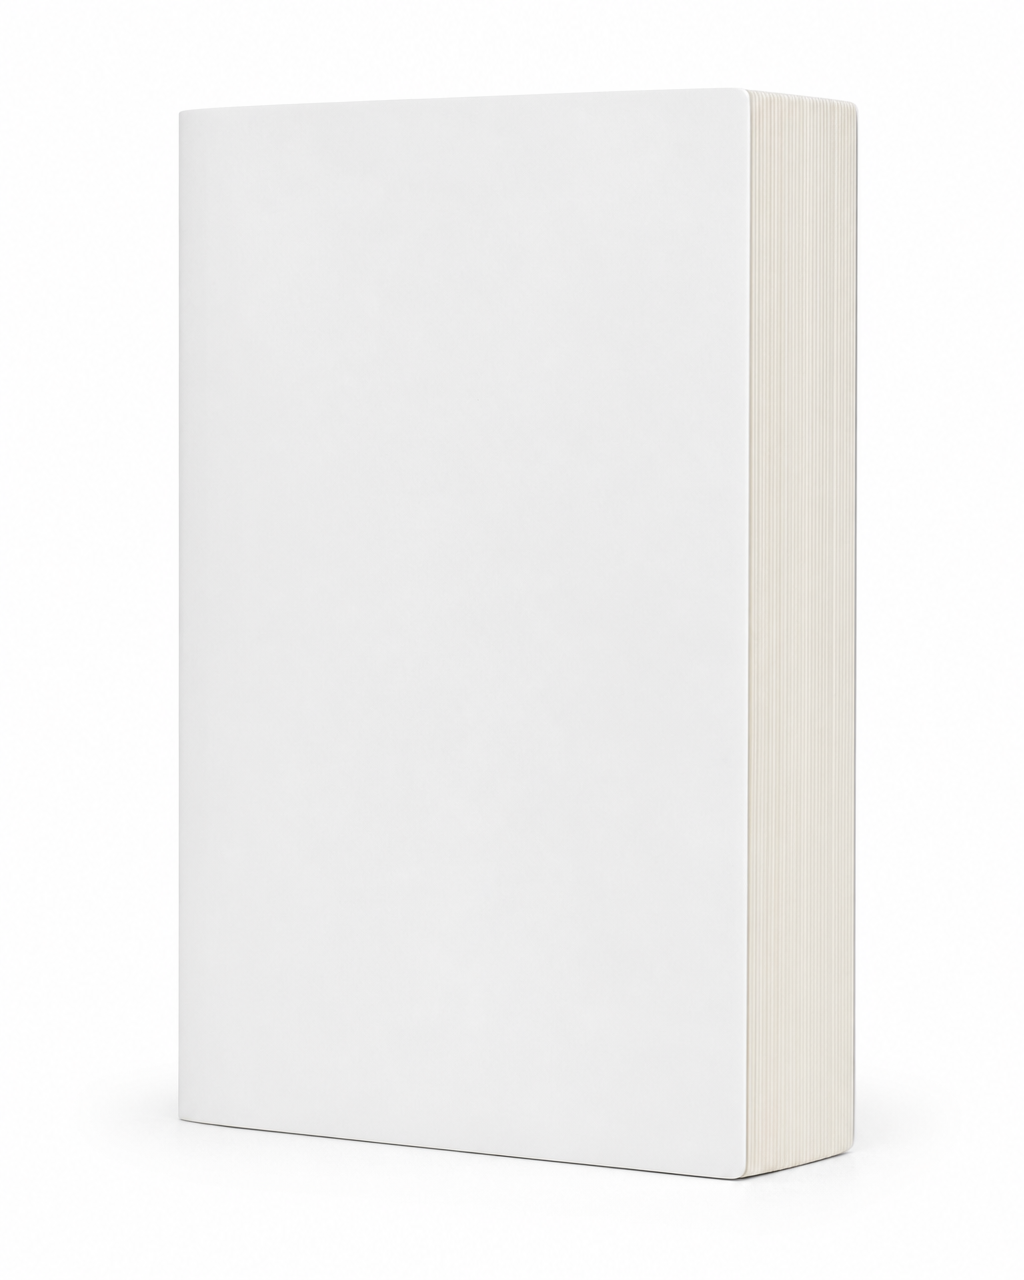
Step 2 — Get a blank book at your angle and thickness
This second reference carries both the pose and the depth. The easiest option is to use ours — the exact blank-book references our mockup tool feeds the model, one per angle and thickness. Find the row that matches your book's heft, download the angle you want, and attach it as Figure 2:

Step 3 — Send the prompt
Attach both images and send the prompt below. This is the exact one we run, on the thin meditation book — the result first, then what each image is for, then the full prompt:
The two reference images
Use image 1 as the cover artwork reference. Take the artwork from this image and apply it to the front cover face of the rendered book — reproduce it pixel-faithfully with exact colors, typography, and graphical elements. Preserve every text element on the cover exactly as it appears (wording, font, size, color, layout, and position); do not regenerate, restyle, or relayout any text. This is a flat artwork file — do NOT let it dictate the rendered book's 3D orientation, perspective, depth, or angle. Treat it as the literal cover to apply onto the book's front face.

Use image 2 as the book-form reference. Take the identity of the book from this image and apply it to the rendered book — match its orientation, angle, perspective, and physical proportions exactly. The depth shown on the side face is load-bearing: match that depth proportion precisely, even if it looks unusually thin or thick for a book — do NOT normalize toward an average book thickness. The front cover face here is intentionally blank; do NOT copy the blank white cover — the actual artwork is in image 1.
The prompt we send
A thin book — the page-stack reads as a hairline along the depth-side, noticeably thinner than a medium or thick book.

Scene: A single closed softcover book floating mid-air, centered in the frame. The book stands perfectly upright, top and bottom edges horizontal across the frame. The book is rotated thirty degrees around its vertical axis with the front cover face presented toward the right of the camera. The page-edge foredge shows as a vertical stripe along the right side of the book. The spine sits behind the book on the back-left, occluded by the cover.

Lighting: Soft even neutral studio lighting wrapping uniformly across the book.

Mood: Premium, dynamic, editorial.

Background: Clean light-grey studio backdrop, perfectly uniform. The book floats alone against it with crisp sharp edges all around its silhouette.

Composition: Book centered, occupying roughly fifty-five to sixty-five percent of the vertical height, upright and level. The full front cover face stays unobstructed; the foredge reads as a vertical page-edge stripe on the right.

Camera: Eye-level 50mm camera, lens axis perfectly horizontal at the book's middle. Sharp focus across the book.

Aspect ratio: 4:5.
Three lines do the heavy lifting — keep them. "Preserve every text element… exactly" stops the model rewriting your type. "Do NOT copy the blank white cover" stops it rendering a blank book. "The depth… is load-bearing… do NOT normalize toward an average" is the line that holds your thickness instead of fattening it to a generic paperback.
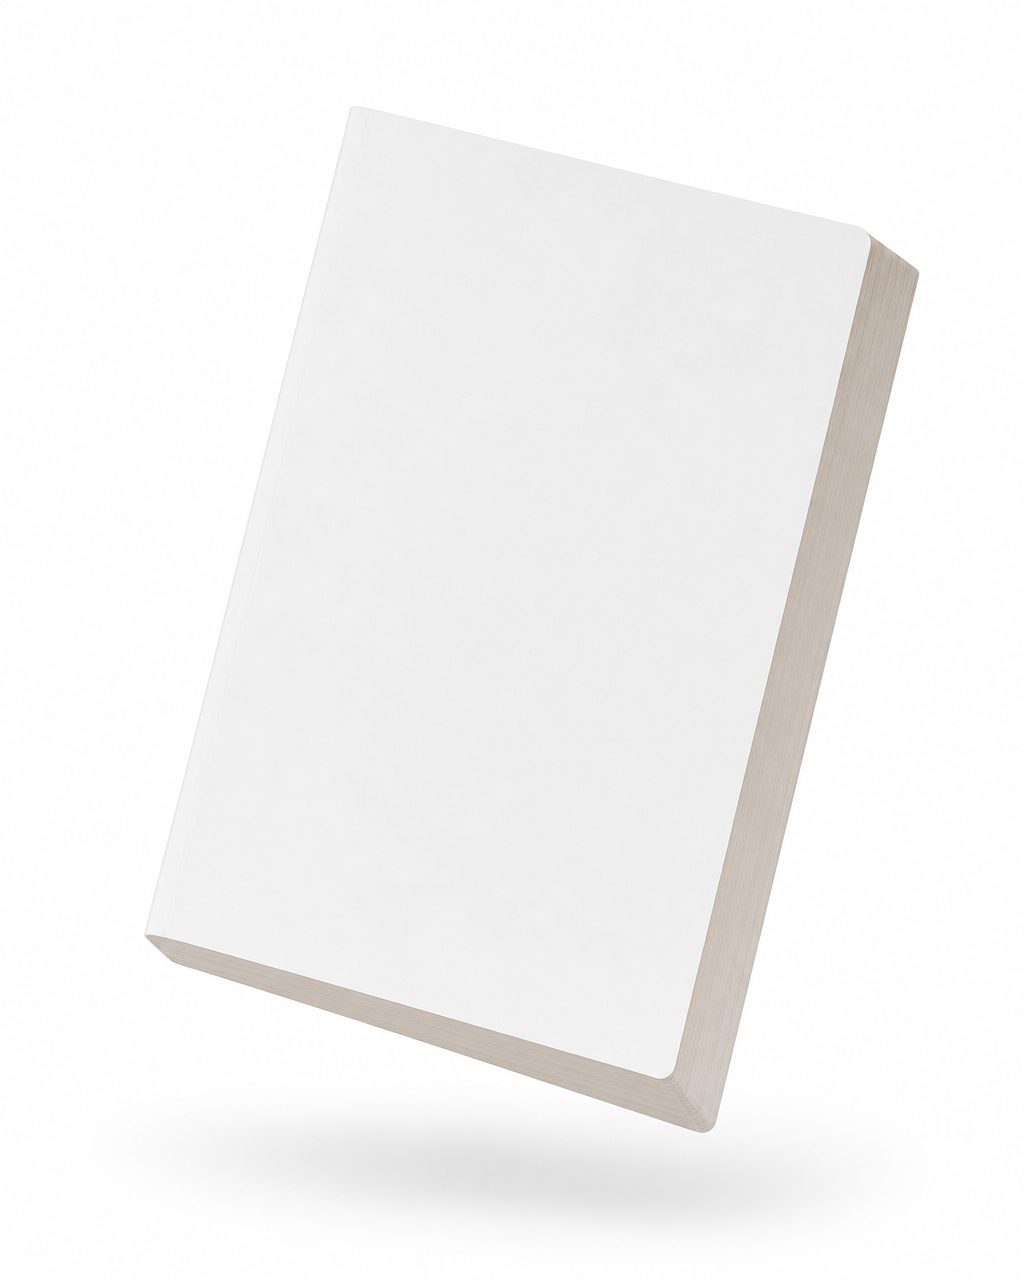
Step 4 — Pick your angle
The angle is set entirely by which blank-book reference you use as Figure 2 — the model copies the pose of the book you hand it. To change the angle, swap Figure 2 for the one you want (download them from the library in Step 2) and send the same prompt. Nothing else changes.
| Angle | What it looks like | Best for |
|---|---|---|
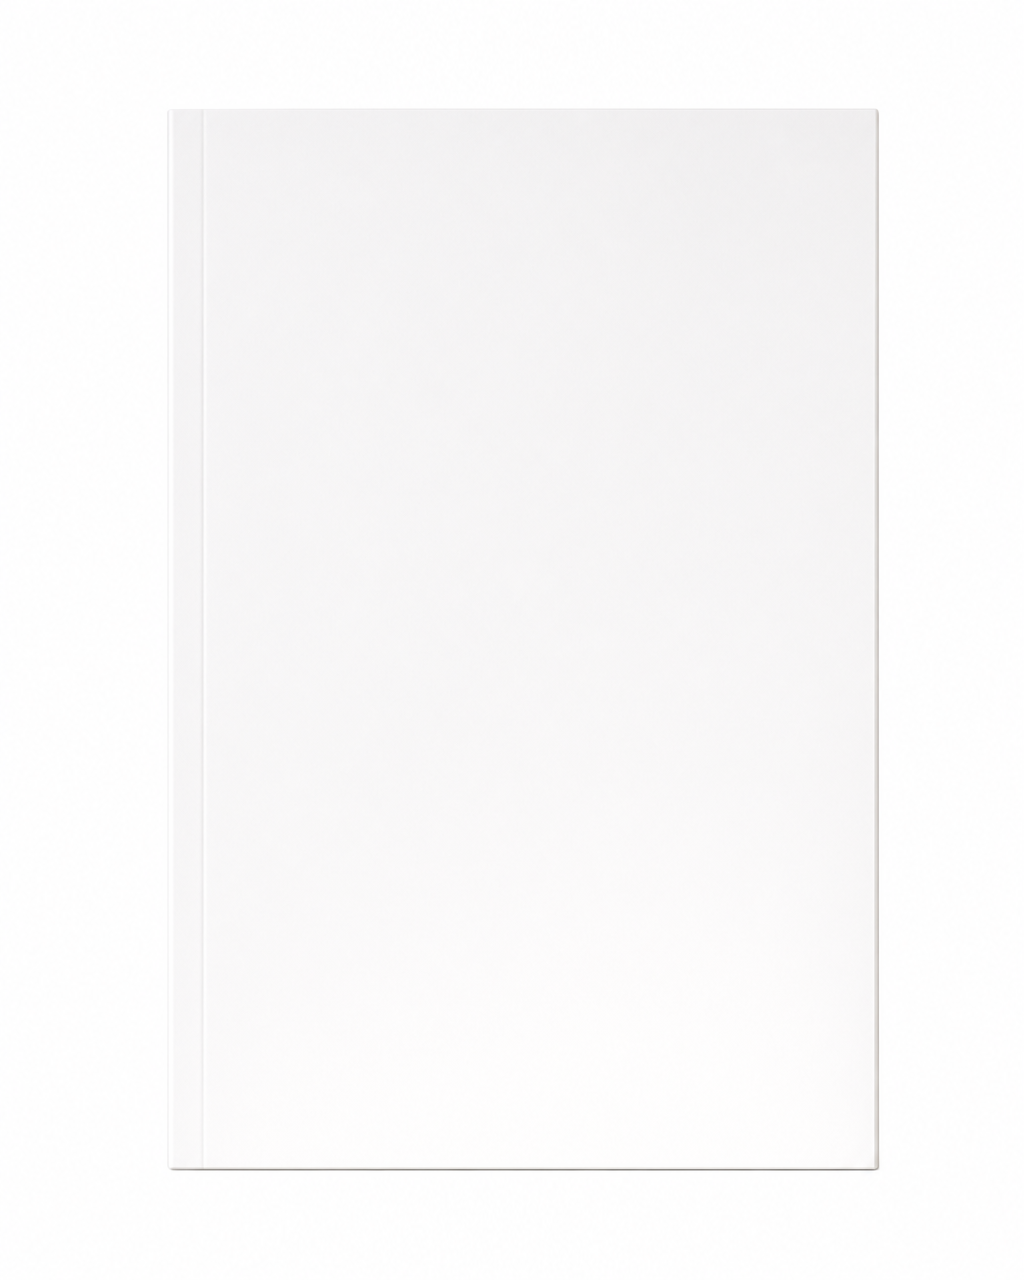
| Straight-on | Cover squared dead-on, the cleanest, most legible view | Store listings, thumbnails, anywhere the cover must read instantly |
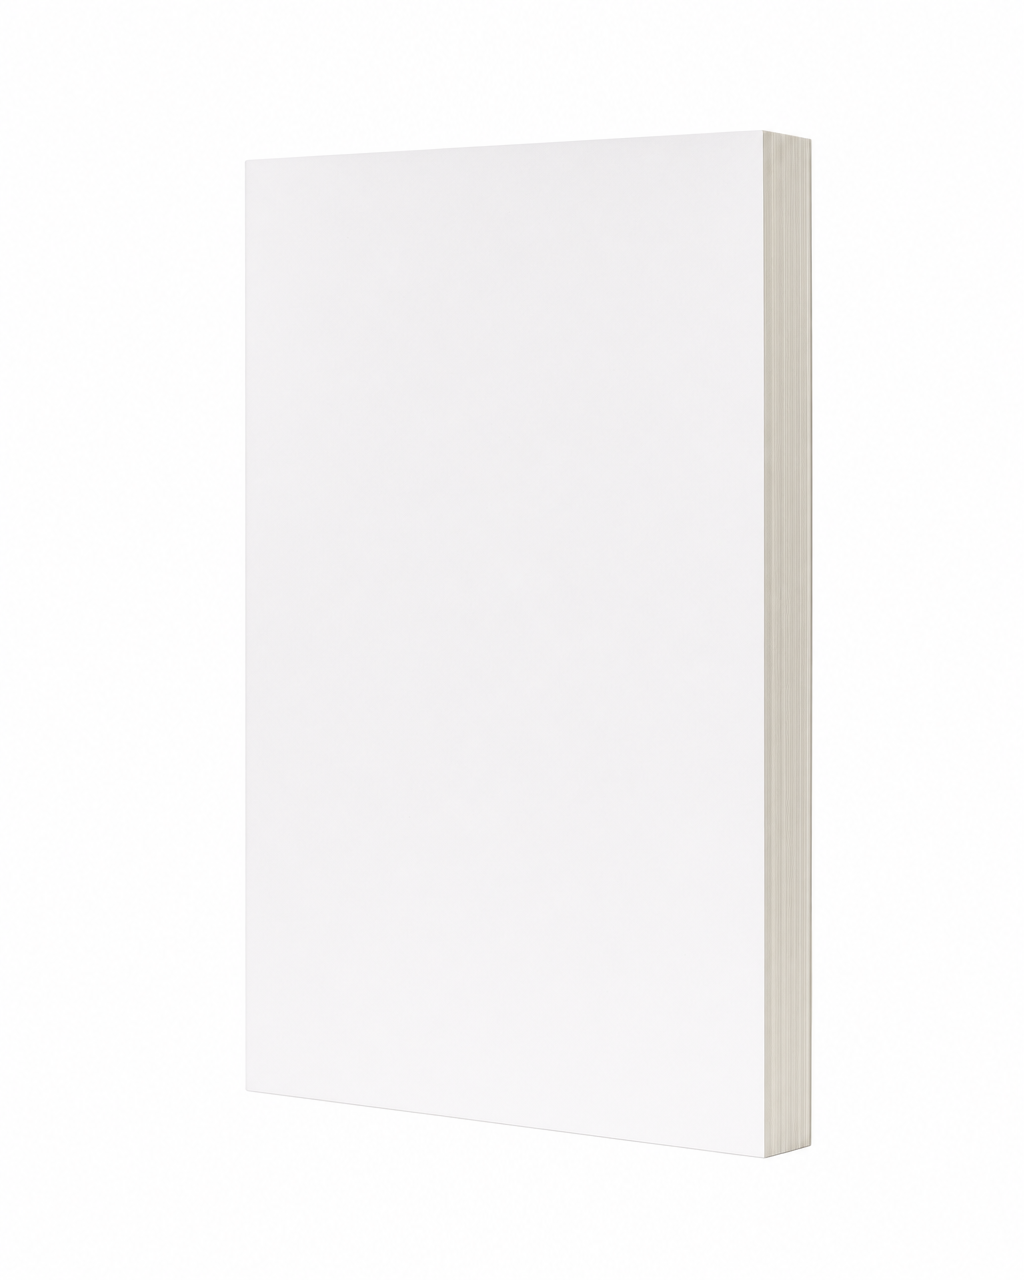
| Three-quarter | Turned on its vertical axis with a sliver of page edge — the classic "real book" look | Cover reveals, hero images — the default |
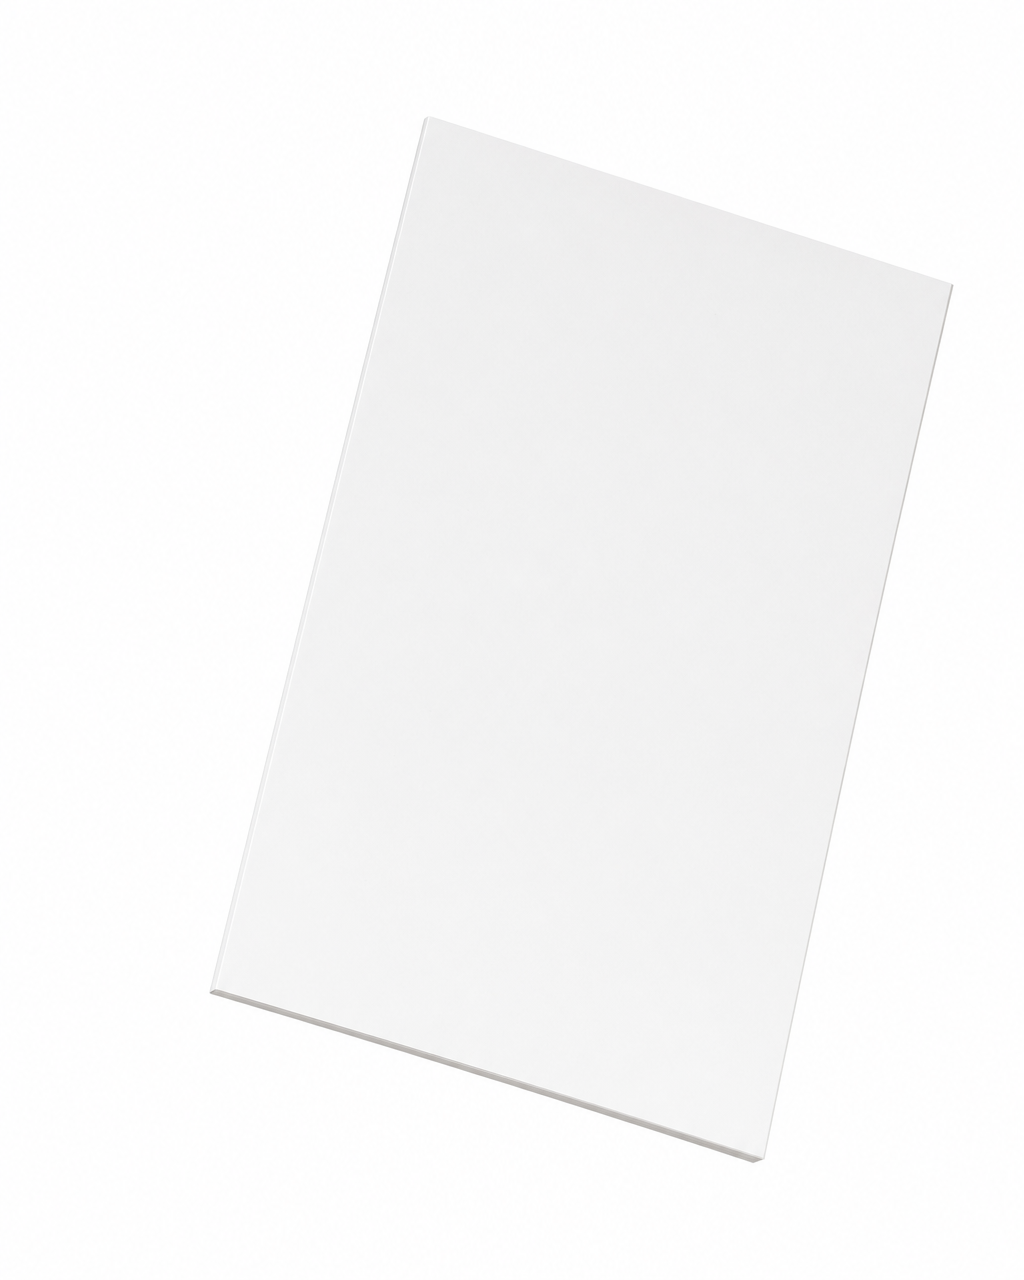
| Corner-hang | Flat cover rotated diagonally, as if floating from a corner | Ads and posts that need energy and movement |
Step 5 — Pick your model
Among the three, the differences that matter are speed, whether they'll refuse a cover with a person on it, and — the big one — thin books.
| Model | Strength | Watch out for |
|---|---|---|
| GPT Image 2 | Highest fidelity; held a thin page-stack; best at small cover text | Moderation can block covers with a face or figure |
| Nano Banana | Fast (~3× quicker), no face-blocking | Fattens thin books toward "average" |
| Seedream v5 Lite | Cheapest, loosest moderation | Same — fattens thin books toward "average" |
If your cover features a person and one tool refuses it, switch models rather than censoring your art — the same image that gets blocked on one sails through another.
The thing nobody tells you: thickness
Here's the part that trips everyone up. The obvious first attempt is to give the model your cover and just describe the book — "a thin paperback, three-quarter angle, soft studio light." The cover bakes in beautifully. But the thickness comes out a coin flip: a 90-page novella comes back as a chunky 400-page paperback. Thin books especially almost always render too thick.
It's a known quirk of image models — when you under-specify a measurement, the model drifts toward the average of everything it has seen, and the average book is a medium paperback. Neither a page count nor piling on adjectives ("thin," "very thin," "hairline") reliably fixes it.
What fixes it is that second reference image — the blank book. With the depth shown instead of described, the model stops averaging and matches it. Same method, two opposite books — a thin meditation paperback and a 400-page fantasy doorstop — each keeping its true heft:
The one-click version
If you'd rather not wrangle prompts and blank-book references, this is the whole reason we built the Book Cover Instant Mockup into MakeTrailer. You upload your cover, pick a thickness, tick the angles you want, and it returns all of them in about twenty seconds — every reference image, role instruction, and model fallback handled for you. There's a one-click "remove background" too, for a transparent PNG you can drop straight onto an ad or a colored banner.
However you make it, the mockup is a means to an end: a cover reveal or launch post that makes your book feel real — one of the faceless formats that work in every genre.